
Do you struggle visualising how any landscape ideas you have would fit into your existing garden? How they would look and feel to be in and move through?
There are a number of things you can do to help you understand and ‘imagine’ how an idea could work in reality. In this post, we’ll explore:
- Drawing side-on views (sections)
- Tracing over photos
- Creating models
- Marking spaces in your yard; and
- Measuring existing objects & spaces around you
Each of these helps you ‘strengthen’ your imagination in different ways, and can help you picture your ideas within your existing garden or backyard.
1. Draw Side-On Views (Sections) Of Your Garden Ideas
Sections and elevations are basic side views of an area. You see them as part of final plans. A line cuts across a part of the plan, and everything touching that line is drawn vertically.
Sections show just components that are ‘on’ the line, while elevations show everything from the line back towards the edge of the plan.
Drawn to scale, they are helpful because they show how a space works vertically. And can give you a sense of how slopes, steps or other changes in levels impact how you move through it.

Bainton, Cate, creator [Public domain]
Your sections or elevations don’t need to be that detailed. If your aim is to help yourself imagine any landscape ideas you have, just do a quick sketch of your idea. You can see below the image is quick and messy, but conveys the concept.
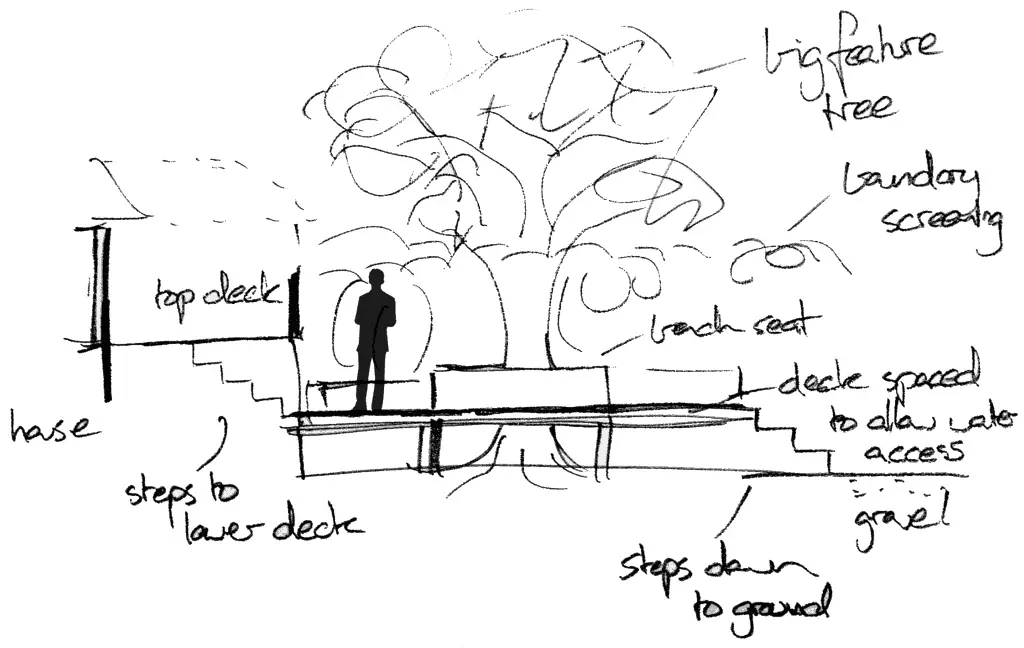
To draw your own, if you have a plan, draw a line through it and draw everything along it. Draw to scale and include a person. This helps show how tall elements in the space would be compared to a human.
If you don’t have a plan, just sketch out your idea – to scale! – like the image above. This forces you to consider the size of things, and helps define how many steps you need to go up or down levels. Same with benches, fences or other elements.
If you’re not sure how big or small these things would be, check out the final tip in this post – measuring existing objects and spaces around you.
2. Trace Your Garden Ideas Over Photos (Perspective Drawing)
This approach is straightforward. Take a photo of the section of your yard or garden you want to design. Get a piece of trace paper (non-waxed baking paper works well here – and for cheap). Then draw your idea on the trace paper over the photo.
Here is a post by Erin Lau at gardentherapy.ca on garden perspective drawing. The post walks through the steps on setting up your photo, trace paper, creating a perspective framework, sketching the basics and refining the final drawing.
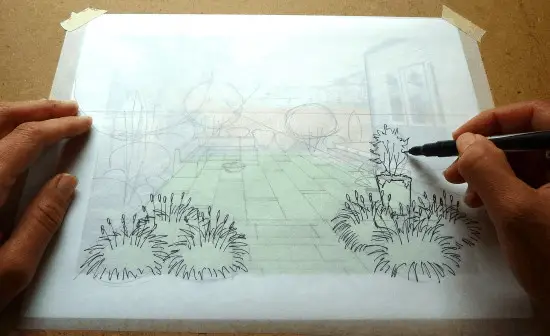
Drawing by Erin Lau, posted on gardentherapy.ca
You can see how useful this approach could be, even if you don’t draw them as precisely. Simply drawing a rough sketch (or multiple) over the photo is a great way to quickly explore different landscape ideas.
3. Explore Garden Ideas By Creating Models
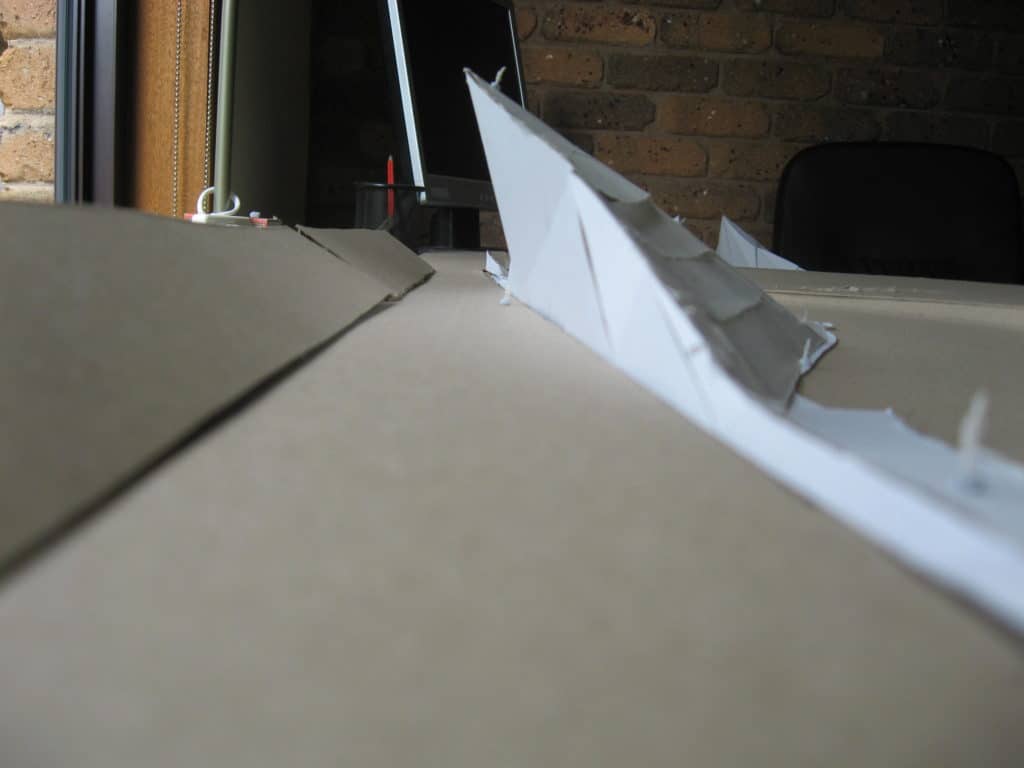
If drawing isn’t your thing, creating models is another way to visualise a space. You can use simple materials like card and glue, and build simple version of your landscape ideas.
I go to more detail in my post on creating landscape design models, and how useful they can be as part of your design process.
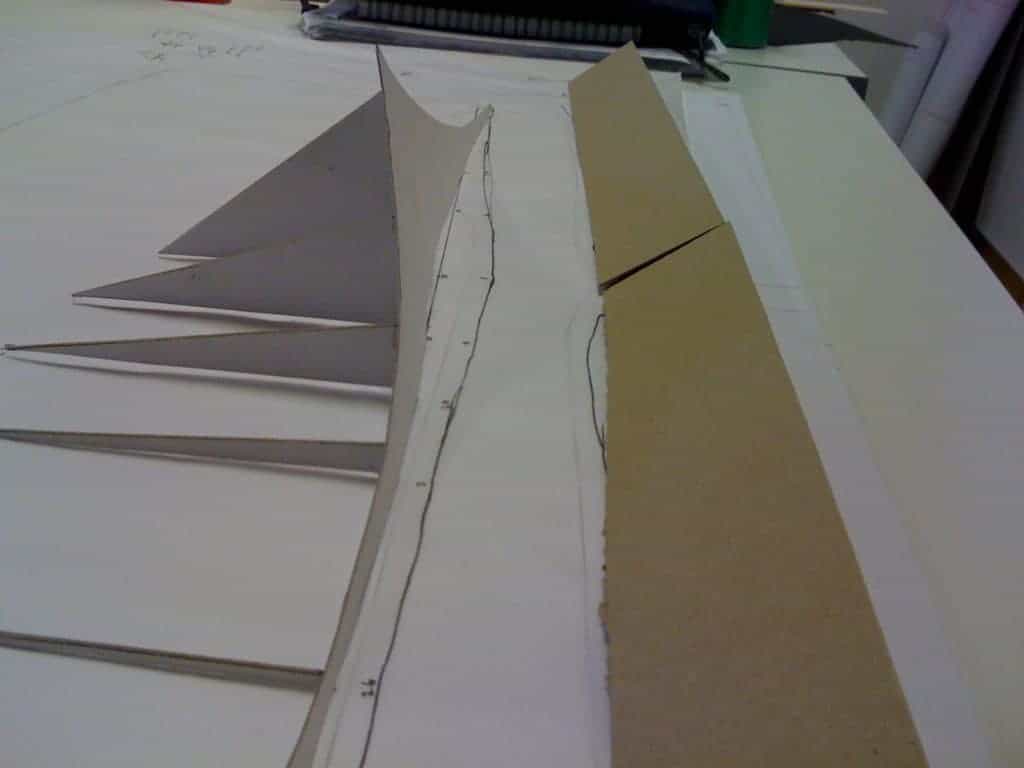
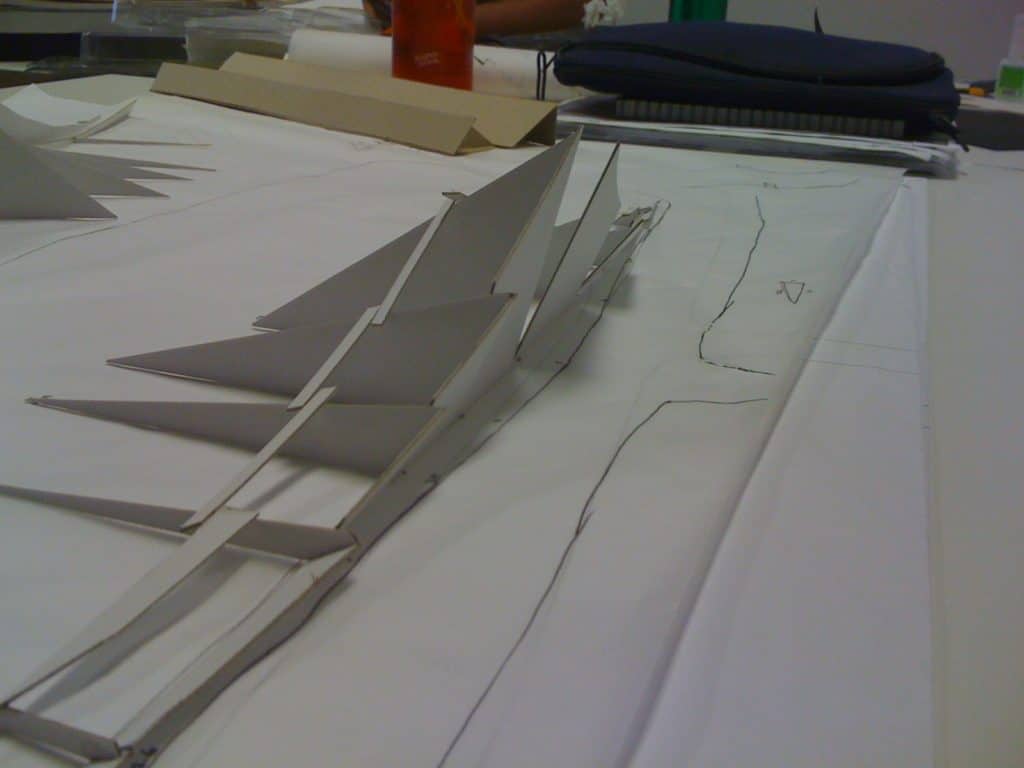
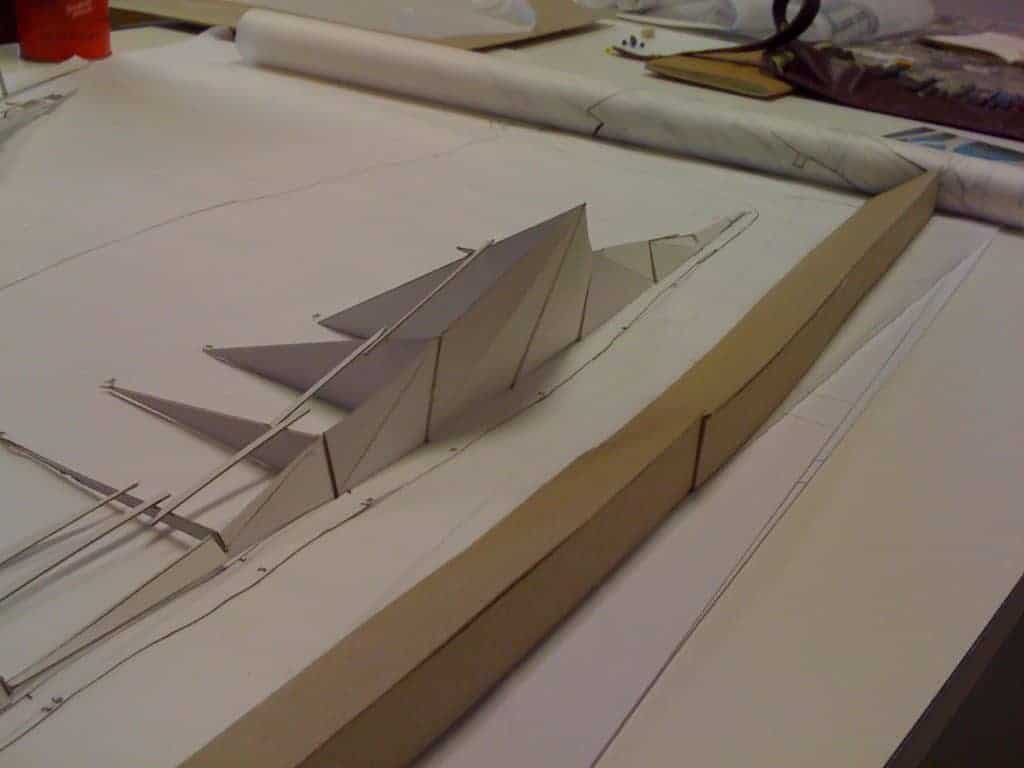
The important things to remember are to build to scale and include small model people – just like drawing sections. You don’t little figurines like mine below – even a little rectangle indicating the size of a person will do.
4. Mark Out Ideas & Spaces In Your Garden
This is something many people will do after they’ve finalised a landscape design. If you keep it simple, this is something you can do to help explore your landscape ideas.
Using builders string, tape, spray point or chalk gives you a quick tool that won’t permanently mark your yard. This approach won’t necessarily be as detailed as some other methods, but it does allow you to test things where they will actually be.
Better Homes & Gardens has a few good tricks on how to mark or outline areas. It looks more at garden bed outlines, but the methods it suggests are applicable to many different spaces.
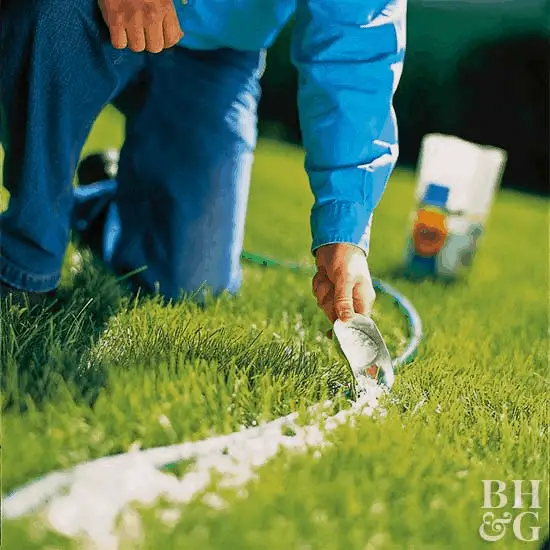
From Better Homes & Gardens.
Another way you can approach this is to use some sort of cheap timber or board to imitate things like walls, large trees or other structures. Have someone place or hold them in a position and see how these larger vertical elements impact the space.
Do they interrupt your view across the site? Or cast shade? Or feel overwhelming in this position? This kind of testing ‘in situ’ can really help you understand where something could ideally be placed. Move the thing around until it feels right and see how that might fit in to other parts of your design. Or with other landscape ideas you want to test and explore.
5. Measure Existing Objects & Spaces To Visualise Garden Ideas
If you’re like many people, you probably struggle with knowing how large or small to make something. It could be the layout of a space, or more specific dimensions for steps, benches, garden beds or paths.
Or perhaps how far apart to plant things, or incorporate drainage, irrigation and other practical components.
I outline how to research and determine what works in my 6 Steps Beginner Guide, or try my ebooks like my Landscape Design 101 Guide, or my more depth version The Garden Design Process. But for today, I want to show you how to take advantage of all work other designers have done to help inform your landscape ideas.
Measuring Spaces Around You
If you struggle to understand what 12 ft tall looks or ‘feels’ like, the easiest way to fix that is by measuring it out.
Get a tape measure, and find a wall, ceiling or tall object to measure against. Grab some colourful tape or non-permanent marker and mark out 12 ft high. Then stand back and ‘take it in’!
This is useful even if you don’t have a specific item or height in mind. To get used to understanding spaces around you, you can measure out and mark common intervals – feet, inches, metres etc. – and teach yourself what they ‘feel’ like.
Having these lines set out along the floor and wall gfives you a human sized ruler to use any time you aren’t sure how long or tall something should be. Or you aren’t sure what a 20 ft tall mature tree would look like. Even if you haven’t measured out 20 ft, you can multiply a distance and get a sense of it.
This 1:1 scale ruler is one way to understand ideas you have. Another option is to take advantage of other designers work around you.
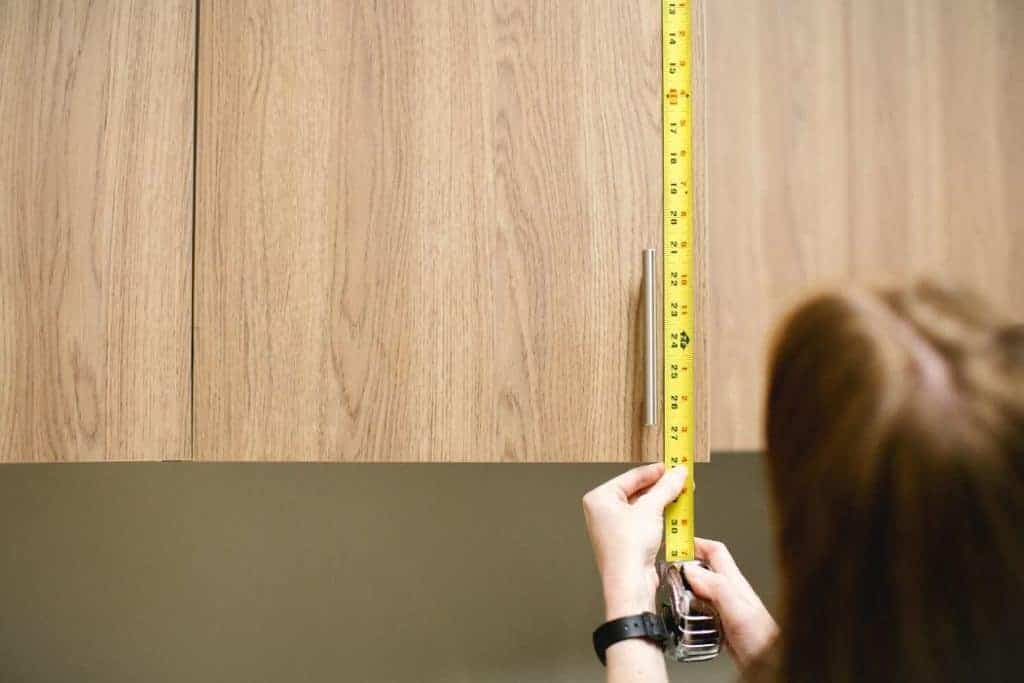
Image from www.twpinc.com/
Using Existing Objects As Templates For Your Own Landscape Ideas
Similar to the human sized, or 1:1, ruler above, you can leverage all the work previous designers have done and measure things around you.
Benches, steps, tables, chairs, windows, doors, hallways, rooms – everything around you (usually) conforms to a ‘standard’ size or set of sizes. These have developed over time, through thousands of designers and manufactuerus doing millions of iterations to find what works best for 95% of people.
If you’re not sure how long, wide, deep or tall something should be, use examples around you as a starting point! You can always choose to deviate from these if needed.
Another benefit is by sticking to conventional sizes for things, you can be confident you will find materials in those sizes. And they will be cheaper to buy and install/ build if you stick to standard sizes.
This approach of using the world around you helps you not only choose things that work – it also helps you understand with your body how any landscape ideas of similar sizes would feel in your garden. It’s a win-win.
So hopefully you found these tips useful. Use things around you to help ‘base’ your landscape ideas. See how they work in 3D. Explore ideas in 3D.
Hoepfully these tricks help you strengthen your imagination.